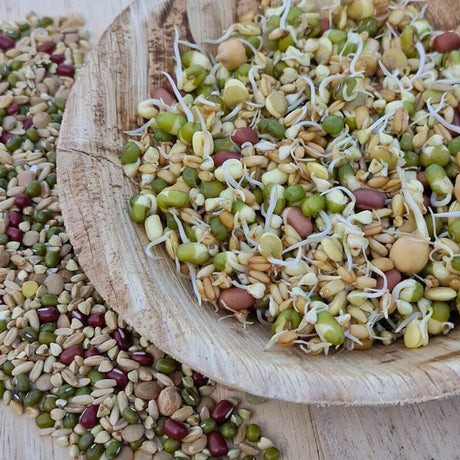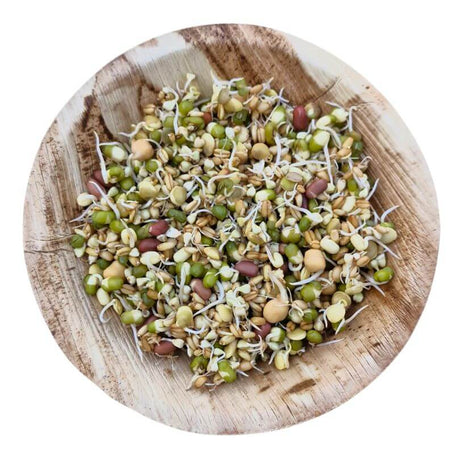

Sprouting takes soaking one step further. Instead of stopping once the seed has absorbed water, you keep rinsing and draining it until it germinates and puts out a little tail.
It takes a few days rather than a few hours, and it needs attention more than effort. The reward is fresh food made from something you may already have in the cupboard.
Here's how to sprout seed for birds, what to watch for, and how to reduce the chance of a batch going bad.
Just looking for the method? Jump straight to How to Sprout Seed.
Sprouting or Soaking?
They start the same way and finish differently.
Soaking stops once the seed has taken up water. It takes a few hours, needs very little attention and works well with a wide range of seeds, grains and nuts.
Sprouting carries on. After the initial soak, the seed is rinsed and drained repeatedly while it germinates. It takes a little longer, and different seeds may sprout at slightly different rates.
If you haven't tried either before, our guide to soaking seed for birds is the easier place to start. Once you're comfortable with soaking, sprouting is the natural next step.
What You'll Need
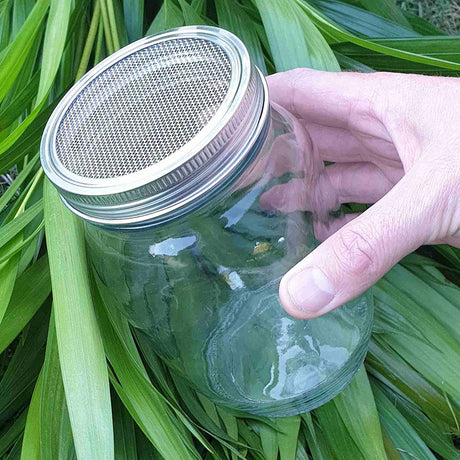
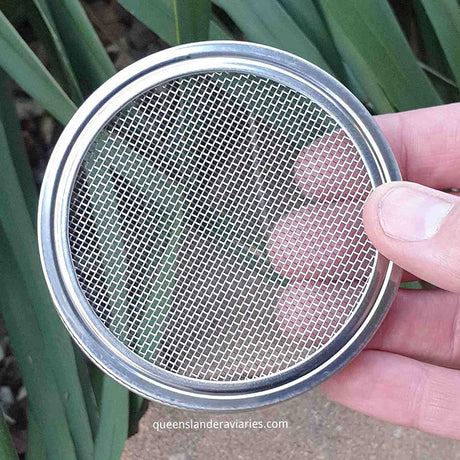
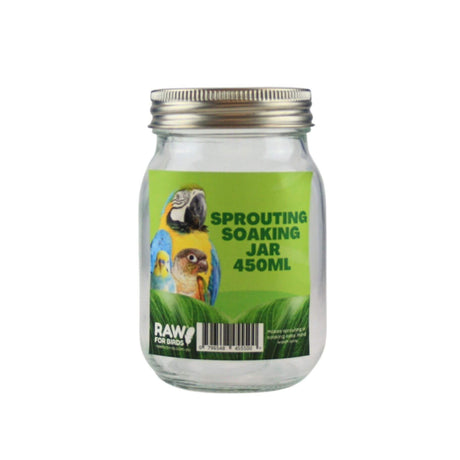
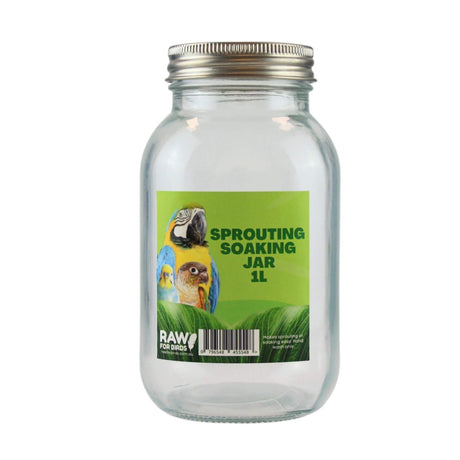
A Raw for Birds Sprouting Jar makes the process much easier because you can soak, rinse and drain in the same container without losing seed down the sink. A clean jar and fine strainer will also work.
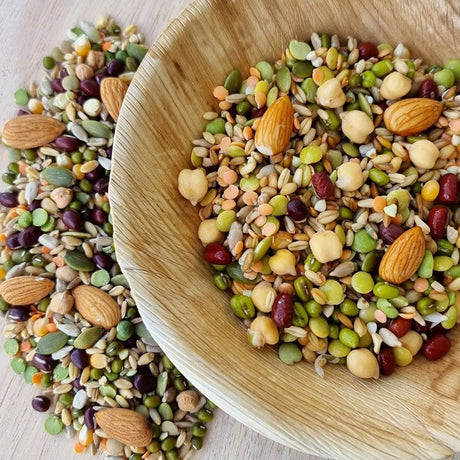
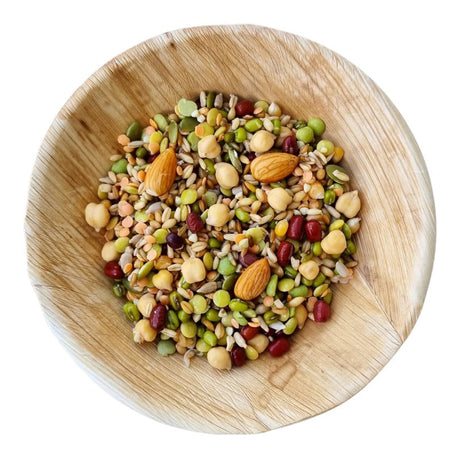
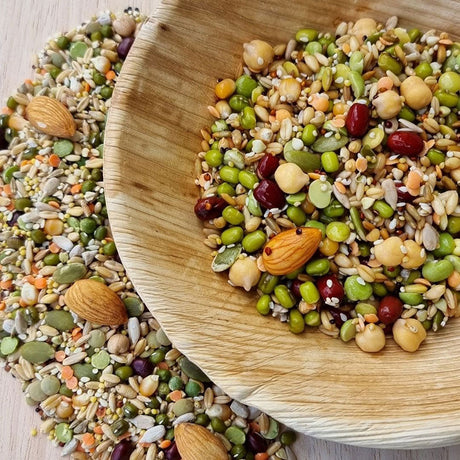
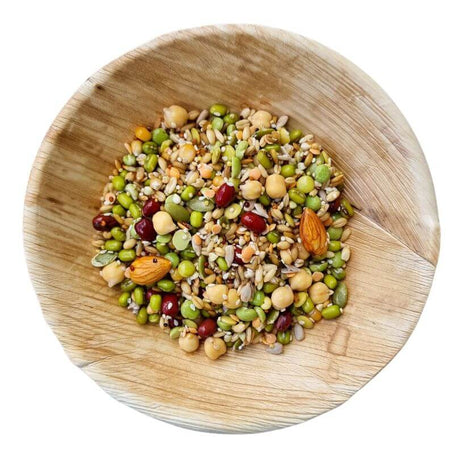
You'll also need a sprouting blend. Sprouting blends contain seeds selected to germinate at reasonably similar rates, which makes the process much easier than putting together a mixture yourself.
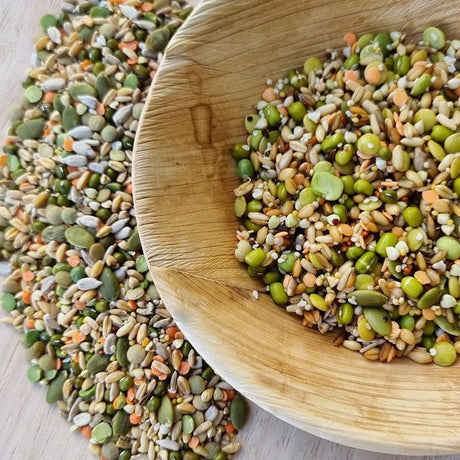
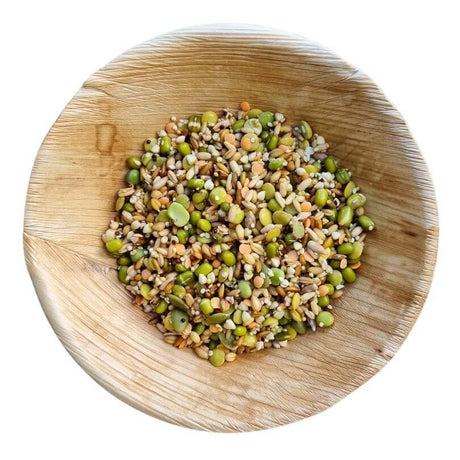
There's also a Sunflower Free Sprouting Blend if you'd prefer a blend without Sunflower.
How to Sprout Seed for Birds
- Measure it out. Check the serving guide on your blend and only prepare what you'll use over the next few days. Start with a clean measuring cup, jar and strainer.
- Rinse thoroughly. Run cool, clean water through the seed until the water runs close to clear.
- Soak for around 24 hours. Keep the seed covered with plenty of water. The water may change colour during this stage, which is normal.
- Rinse and drain. After soaking, rinse the seed thoroughly and drain it well. The seed will have swollen and some varieties may already be starting to germinate.
- Keep rinsing and draining. Rinse at least four times a day, draining thoroughly each time. The seed should stay moist but should not be sitting in water.
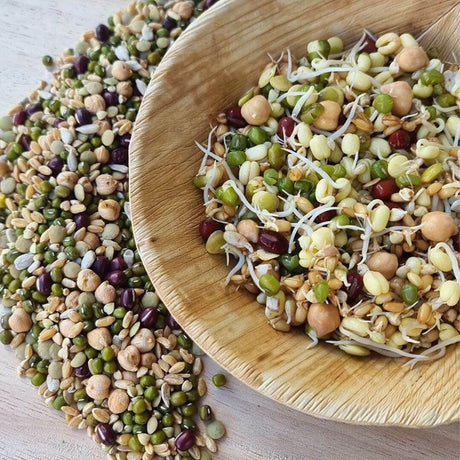
- Watch for little tails. Germination usually starts within a day or so after soaking. Some varieties will be faster than others.
- Rinse, drain and serve. Give the finished sprouts a final rinse, drain them well and offer them in a clean dish. Remove anything uneaten after a few hours.
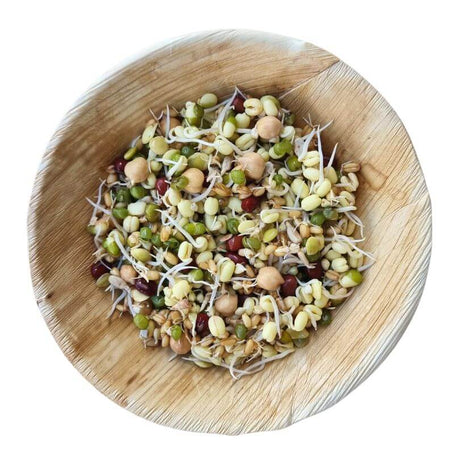
Sprouts are generally ready once the little tails have started to emerge. You don't need to wait for long shoots to develop.
Some seeds are naturally slower than others, and Sunflower can be one of the last to get going.
Where to Keep Your Sprouting Jar
Keep the jar out of direct sunlight at normal room temperature, away from cooking splatter, cleaning products and other sources of contamination.
Somewhere near the kitchen sink can be handy because you'll see it regularly and remember to rinse it, but keep it away from dirty dishes and splash from the sink.
Keeping Sprouts Fresh and Reducing Contamination
Sprouting creates warm, damp conditions that are excellent for germinating seed, but those same conditions can also encourage bacteria, yeast and mould to grow.
Good hygiene and frequent rinsing make a big difference.
Start clean. Wash your hands and use a clean jar, strainer and measuring equipment every time you start a batch.
Rinse regularly. Rinse at least four times a day with clean water.
Drain thoroughly. Sprouting seed should be damp with air moving around it, not sitting in water between rinses.
Keep an eye on it. Throw the batch away if it becomes slimy, develops visible mould, turns unusually brown or smells sour or musty.
A normal appearance or smell doesn't guarantee a batch is free from microorganisms, which is why starting clean, rinsing regularly and handling sprouts carefully matters.
Vetafarm Aviclens can also be used during the initial soak according to the label directions. You can find Vetafarm Aviclens here.
Be cautious in extreme heat. Sprouting becomes much harder to manage during a Queensland heatwave. If the room is very hot and you're struggling to keep batches fresh, it's perfectly reasonable to stick with soaked seed until conditions cool down.
Our guide to protecting your bird from mould also covers why damp food and organic material need extra attention around birds.
How to Offer Sprouts to Birds
Sprouts can be offered on their own or mixed through other fresh food.
If your bird hasn't seen sprouts before, mixing a small amount through familiar vegetables is often the easiest introduction. Our guide to safe vegetables for birds has plenty of ideas for what else can go in the bowl.
If you're adding sprouts to chop, mix them in when you're ready to serve rather than stirring them through a larger batch that will sit in the fridge. Sprouts add extra moisture, so it's better to keep them separate until feeding time.
How to Store Sprouted Seed
Finished sprouts should be refrigerated in a clean, covered container and used within a few days. Rinse and drain them before serving, and throw them away sooner if anything looks, smells or feels wrong.
Dry sprouting seed is best kept cool and dry. Freezer storage can be useful for longer-term storage and doesn't stop you taking out what you need for each batch.
Our guide to storing bird seed in Australia covers seed storage, pests and freezing in more detail.
Frequently Asked Questions
How long does sprouting seed take?
Usually around two days under good conditions. Allow roughly 24 hours for the initial soak, followed by regular rinsing and draining until small tails begin to appear.
How often should I rinse sprouting seed?
At least four times a day. Rinse thoroughly each time and make sure the seed drains properly before returning it to its sprouting spot.
How long do sprouted seeds keep?
Finished sprouts are best used within a few days and kept refrigerated in a clean, covered container. Discard them sooner if they develop slime, visible mould, discolouration or an unusual smell.
How often can I offer sprouts?
Sprouts can be offered regularly as part of a varied diet. The amount will depend on the bird, the rest of its diet and the sprouting blend you're using, so check the serving guide on the product.
If you have concerns about your bird's individual diet, an avian veterinarian can help you work out what suits them best.
Can I feed sprouting seed dry?
No. Sprouting blends are intended to be soaked or sprouted before feeding.
What if my seed won't sprout?
Some seeds germinate more slowly than others, and older or non-viable seed may not sprout at all.
If a batch hasn't germinated as expected after a couple of days, or you're unsure about its condition, it's better to discard it and start again rather than trying to rescue it.
Do sprouts need long tails before I feed them?
No. They're ready once germination has started and the small tails are beginning to emerge. You don't need to grow them into long shoots.
My bird won't eat sprouts. What should I do?
Start small. Mix a little through food your bird already enjoys rather than replacing the whole bowl with something unfamiliar.
Some birds investigate new foods immediately and others need to see them several times before deciding they're edible, so don't be discouraged if the first batch gets ignored.